Upcycling Furniture Projects for Beginners: A Starter Guide
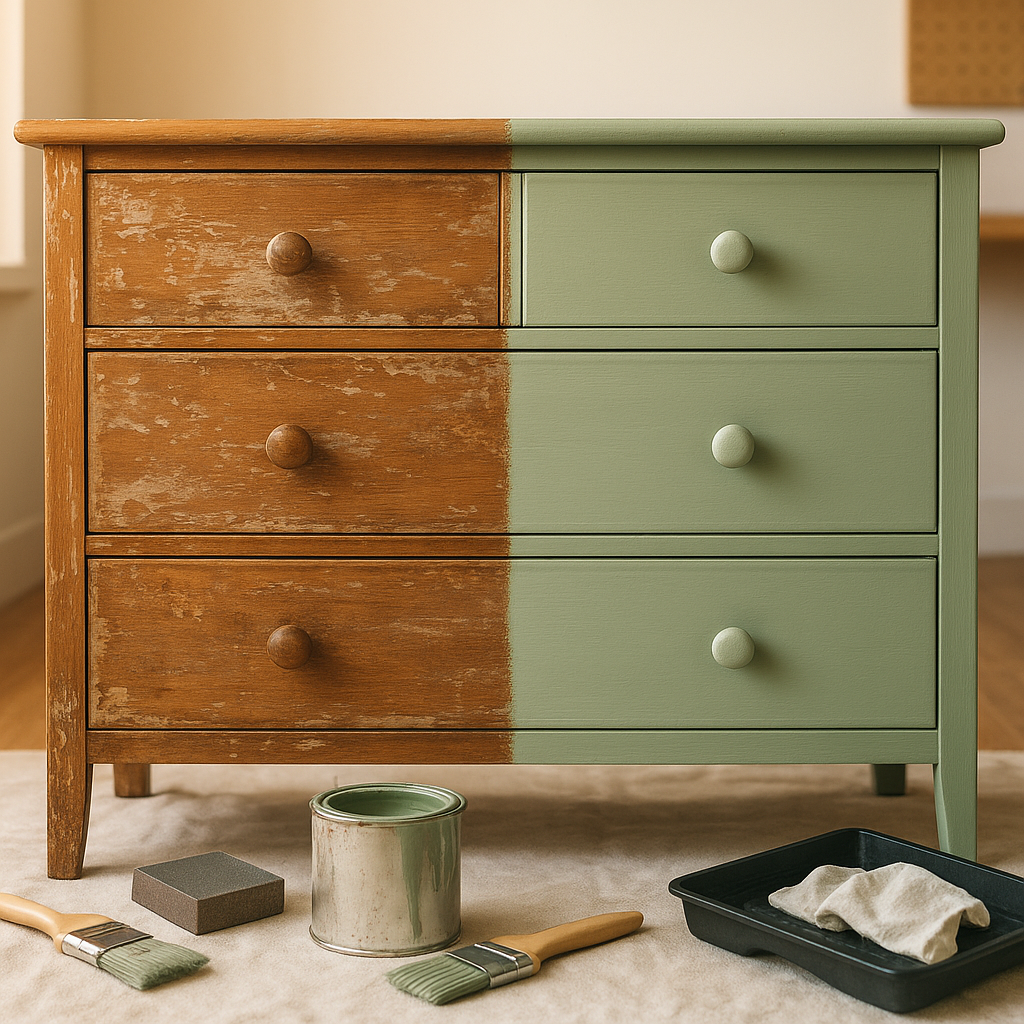
There’s something deeply satisfying about rescuing a tired old chest of drawers from the kerb and turning it into something you’d actually be proud to display in your home. Upcycling furniture has exploded in popularity over the last decade — and for good reason. It saves money, reduces waste, and gives you a one-of-a-kind piece that no one else has. But if you’ve never picked up a paintbrush or sander before, the whole thing can feel a little daunting. Where do you even start?
This guide is designed specifically for beginners — no prior experience needed, no expensive equipment required. Whether you’ve spotted a sad-looking side table at a car boot sale or you’re staring at that scuffed wardrobe in the spare room wondering if it has a second life in it, you’re in exactly the right place. Let’s walk through everything you need to know to get started confidently.
Why Upcycling Furniture Is Worth Your Time
Before we dive into the how-to, it’s worth understanding why so many people are falling in love with this hobby. According to a report by WRAP (Waste & Resources Action Programme), the UK throws away approximately 22 million pieces of furniture every year. That’s an enormous amount of perfectly reusable material heading to landfill. Upcycling, even on a small personal scale, chips away at that problem.
Beyond the environmental angle, there’s a very practical financial benefit. A solid wood vintage dresser bought for £20 at a charity shop, sanded down and painted, can easily be worth £150–£200 once transformed. Many people start upcycling as a hobby and discover they can actually sell their pieces for a tidy profit. And even if you’re just doing it for your own home, the savings compared to buying new furniture are significant.
Then there’s the creative satisfaction — honestly, that’s the part most beginners underestimate. There’s a real joy in standing back and looking at something you’ve transformed with your own hands.
How to Upcycle Furniture for Beginners: The Essential Basics
If you’re asking yourself how to upcycle furniture for beginners, the good news is the process is far more straightforward than it looks. Most beginner projects follow the same basic steps, regardless of what the piece is or what finish you’re going for.
Step 1: Choose the Right Piece
Not all furniture is created equal when it comes to upcycling. For your very first project, you want something that’s structurally sound — no wobbly legs, no crumbling joints. Cosmetic damage (scratches, outdated colour, ugly handles) is completely fine and actually ideal, because that’s exactly what you’re going to fix.
Great starter pieces include:
- Wooden dining chairs — small, manageable, and satisfying to paint
- Bedside tables — simple shapes with minimal prep work
- Wooden picture frames — perfect for practising painting techniques
- Small chest of drawers — a classic beginner project with a big visual impact
- Wooden stools — quick to do, easy to sell if you want to try your hand at upcycling for profit
Where to find pieces: charity shops, Facebook Marketplace, Freecycle, car boot sales, and even your own home. Don’t overlook what you already own — sometimes a simple repaint is all a tired piece needs.
Step 2: Clean and Prepare the Surface
This is the step beginners most often want to skip — and the one that makes the biggest difference to the final result. Any paint or finish you apply will only adhere properly to a clean, lightly abraded surface.
Start by wiping down the entire piece with a sugar soap solution (available at any DIY shop). This removes grease, grime, and any residue. Once it’s dry, give it a light sand using 120-grit sandpaper — you’re not trying to strip the piece back to bare wood, just dulling the existing finish so your new paint has something to grip. Wipe away the dust with a damp cloth and let it dry fully before moving on.
Step 3: Pick Your Paint
For beginners, chalk paint is almost universally recommended, and for good reason. It adheres to most surfaces with minimal prep, dries quickly, and gives a gorgeous matte finish that can be waxed or sealed. Brands like Annie Sloan, Rust-Oleum Chalked, and Frenchic are all popular choices in the UK.
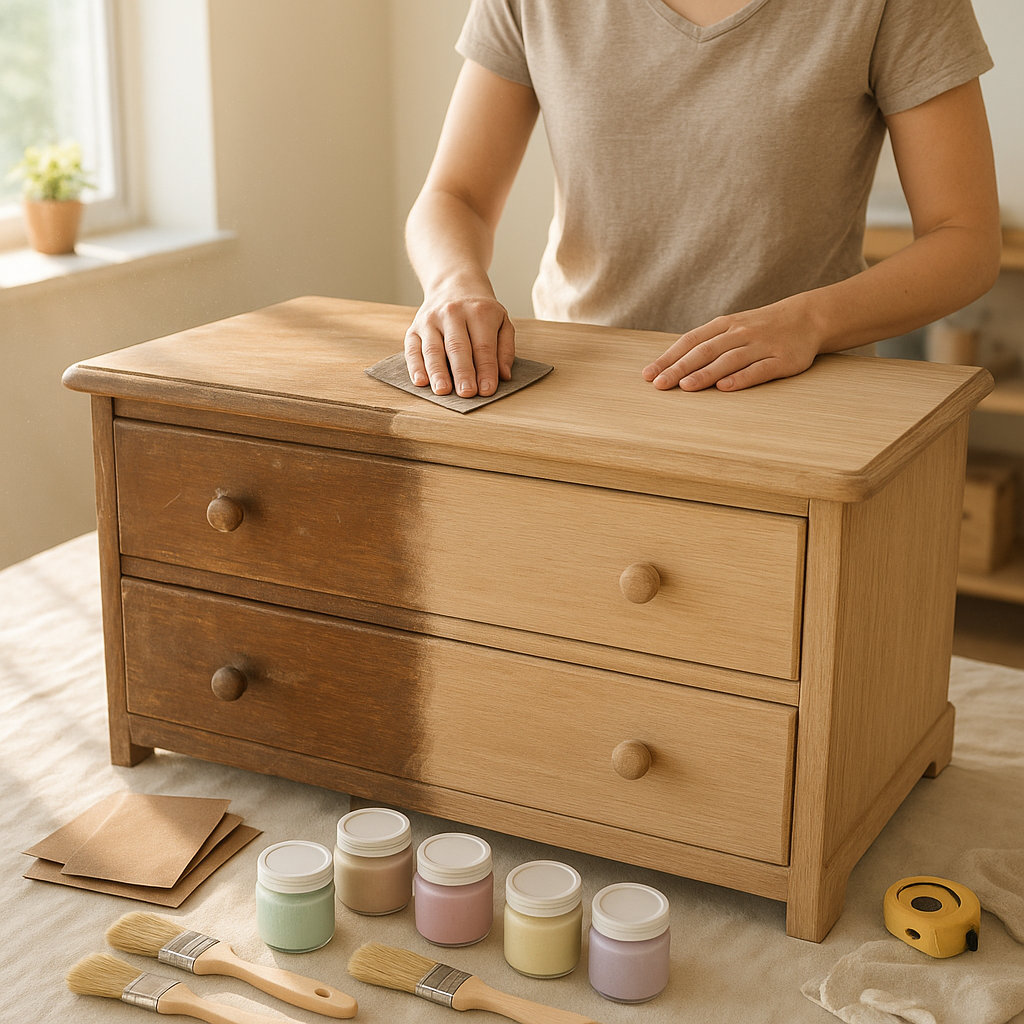
If you’re painting something that will take a lot of wear — a coffee table, kitchen chairs — consider a specialist furniture paint that’s more durable, such as Frenchic Al Fresco or Farrow & Ball’s estate eggshell.
Step 4: Apply and Finish
Apply your first coat thinly and evenly. Don’t panic if it looks patchy — it almost always does on the first coat. Let it dry fully, then lightly sand with a fine 220-grit paper to knock back any brush marks. Apply a second coat. Most pieces need two coats; some might need three.
Once the paint is fully dry and cured (usually 24 hours), seal it with a wax or varnish appropriate for your paint type. This protects the finish and gives it longevity.
Common Upcycling Mistakes to Avoid
Learning what not to do is just as valuable as the how-to. Here are the most common upcycling mistakes beginners make — and how to avoid them.
- Skipping the prep: Paint will peel or chip far sooner if you haven’t properly cleaned and sanded. It feels tedious, but it’s non-negotiable.
- Using the wrong paint: Not all paints are suitable for furniture. Using standard wall emulsion, for example, will result in a finish that marks and scratches easily.
- Applying coats too thickly: Thick coats take longer to dry and are more prone to drips and brush marks. Thin coats built up gradually always give a better result.
- Not sealing the piece: Chalk paint in particular needs to be sealed with wax or a topcoat, otherwise it’s surprisingly susceptible to water marks and scuffs.
- Rushing the drying time: Patience is genuinely a skill in upcycling. Allow each coat to dry fully before the next step.
- Ignoring hardware: New handles, knobs, or hinges can completely transform a piece. Don’t underestimate the power of updated hardware as a finishing touch.
What Furniture Should Not Be Refinished?
This is a question that comes up a lot, and it’s worth addressing honestly. While most solid wood furniture is fair game for upcycling, there are some exceptions:
Antiques with significant value: If a piece might be genuinely valuable — think pre-Victorian furniture, signed pieces, or anything that could be of interest to an antiques dealer — it’s worth getting it assessed before you paint over it. Refinishing can dramatically reduce the monetary and historical value of truly antique furniture.
Veneer in poor condition: Furniture with a thin veneer layer that’s already peeling or bubbling is tricky to work with. You can sometimes stabilise it with wood glue and clamps, but if the veneer is in very poor shape, the results can be disappointing.
Flat-pack furniture with laminate surfaces: IKEA-style flat-pack pieces with a laminate or melamine finish are notoriously difficult to paint. It can be done (with the right primer), but for a beginner, it’s not the most forgiving starting point. Save these for once you’ve got a few projects under your belt.
Creative Ways to Upcycle Furniture
Once you’ve got the basics down, the real fun begins. There are so many techniques and approaches that go well beyond a simple coat of paint.
Decoupage
This technique involves applying cut-out paper, fabric, or napkins to a surface and sealing it with a medium like Mod Podge or PVA glue mixed with water. It’s ideal for drawer fronts, trays, and tabletops. You can create everything from floral designs to vintage map patterns — the options are genuinely endless.
Colour Blocking
Rather than painting an entire piece one colour, try colour blocking — painting different sections in contrasting or complementary colours. The base and top of a cabinet in different shades, or the outside and inside of a bookcase in bold contrast, can look incredibly striking.
Stencilling
Stencils are a beginner-friendly way to add pattern and interest to a piece. You can buy furniture stencils online or from craft shops, and with a little care, achieve results that look almost professional. They work particularly well on drawer fronts, chair backs, and tabletops.
Upholstery Refreshes
You don’t need to reupholster an entire chair to make a big difference. Simply replacing the fabric on a drop-in seat pad (usually held in place with a few staples) is a beginner-friendly project that can completely update the look of a dining chair. Use a staple gun, your chosen fabric, and a screwdriver — that’s really all you need.
Hardware Swaps
Swapping out old handles and knobs for new ones is perhaps the easiest upcycle of all — and one of the most effective. Brass hardware on a painted piece is having a major moment right now, and a set of new handles can cost as little as £10–£15 from sites like eBay or IKEA. If you’re looking to take your creative projects even further, exploring ways to incorporate bold art into your home can complement your upcycled pieces beautifully.
Building Your Beginner’s Toolkit
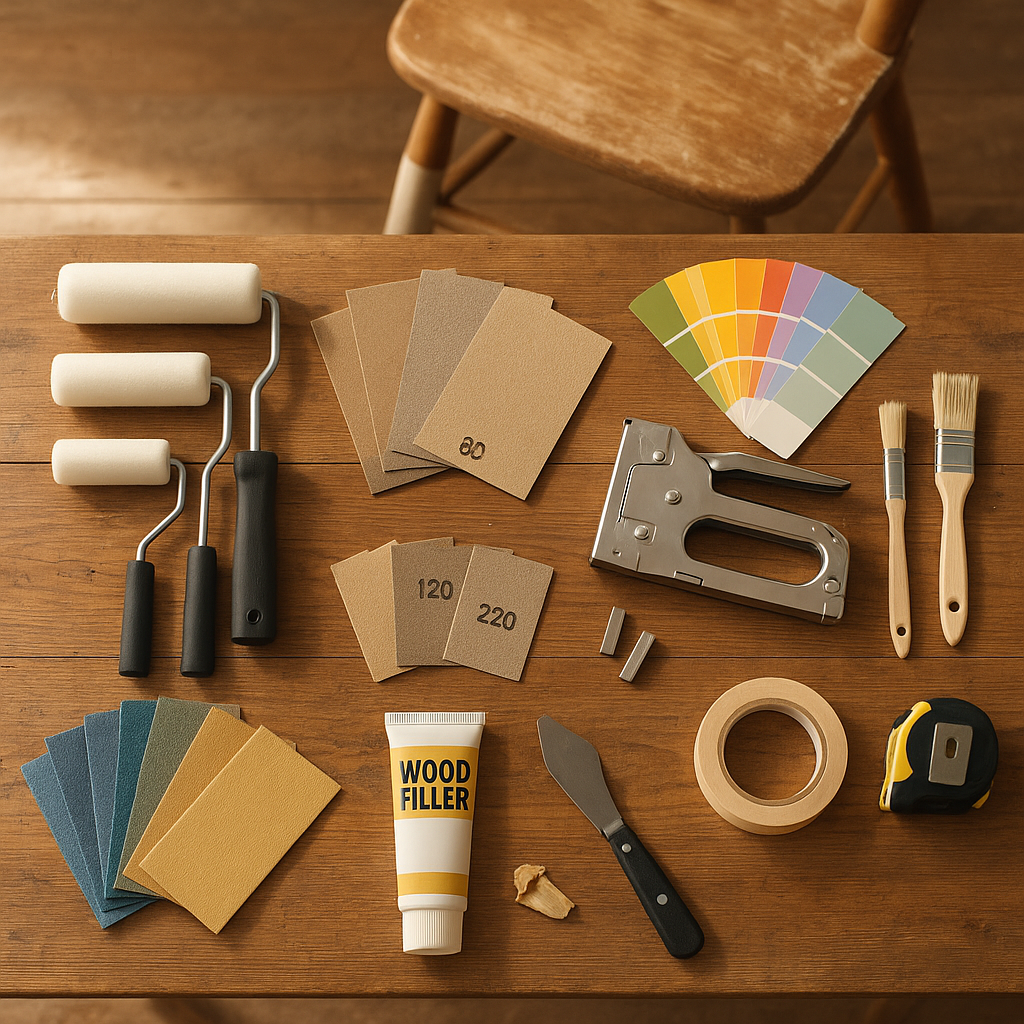
You don’t need to spend a fortune to get started. Here’s a simple, affordable toolkit for your first few projects:
- Sandpaper in 120-grit and 220-grit
- Sugar soap and a cleaning cloth
- A good quality paintbrush (a 2-inch flat brush works well for most furniture)
- Chalk paint or furniture paint in your chosen colour
- Furniture wax or a water-based topcoat
- A drop cloth or old sheet to protect your floor
- Screwdriver for removing hardware
Total cost for the above? You can realistically get started for around £30–£50, much of which you’ll reuse across multiple projects.
Getting Inspired and Finding Your Style
One of the best things about the upcycling community is how generous people are with their knowledge. YouTube is a treasure trove of beginner tutorials — searching for upcycling furniture projects for beginners will return hours of free, step-by-step content. Pinterest boards are endlessly useful for visual inspiration, particularly for before-and-after ideas.
Instagram and Facebook groups dedicated to upcycling are also wonderfully supportive spaces, especially if you’re just starting out and want feedback or encouragement. Don’t be shy about sharing your first attempts — everyone in those communities remembers their first wobbly coat of paint. That same spirit of learning from scratch applies to any creative pursuit; if you find yourself drawn to other forms of self-expression, the essential techniques for creative beginners translate surprisingly well across different disciplines.
A Few Final Thoughts
Upcycling furniture is one of those rare hobbies that rewards you on multiple levels — creatively, financially, and environmentally. Your first project might not be perfect, and that’s absolutely fine. The skills build quickly, and the satisfaction of completing even a simple piece is genuinely addictive.
Start small, don’t overthink it, and resist the urge to rush. Pick up that charity shop chair, mix a pot of paint, and just begin. You might be surprised how quickly you go from nervous beginner to someone who can’t walk past a skip without seeing potential.
The best upcycle is always the one you actually start. So — what are you waiting for?

0 Comments